Planning an event on a budget can be difficult, especially when it comes to décor. You may have a clear picture of exactly the aesthetic you want—the color palette, the centerpieces, and of course, the flowers. But making your vision a reality is a whole other ballgame.
If you want to put together your own bouquets but have no idea where to start, keep reading! We’ll explain how to make your own gorgeous bouquets step by step.
Decide on a Color Palette
The very first step to designing bouquets is deciding what colors you want to go with.
For an event that has a specific theme, choose colors that fit. For example, if the theme is “Starry Night,” you can choose deep navy and royal blues, a light powdery blue, yellow, and white. If there isn’t a particular theme, try choosing colors that complement the setting.
If you just want to be able to make your own bouquets for home décor, we’re sure you already have some colors in mind that fit your personal style.
Research Your Flowers
Now that you have your colors picked out, begin researching flowers that fit into this scheme. There are several things to consider in this step.
You’ll want to choose flowers that will be in season during your event and ones you know you’ll have access to when the time comes. You also need to choose flowers that can stand your climate and/or whatever weather may occur to avoid premature wilting.
Roses are a classic choice and almost guaranteed to come in the colors you’re looking for. They can even be dyed if the color isn’t available naturally.
We recommend consulting a decorator or local florist to find out what will be available in your area and which flowers and other foliage complement one another. They can point you to the best flowers for the job.
If you can’t find flowers that fit your colors—or that can be dyed the right color—consider adding silk or wood flowers. You can also add other accents to your bouquet, like feathers, sparkly bits, jewels and pearls on sticks, fiber optic lights, etc.
You may even want to consider fruit bouquets for summery, outdoor events. We’ve even seen people roll money up to create money bouquets to give to loved ones as a creative gift.
Gather Fresh Flowers/Tools/Other Décor
We recommend gathering everything you’ll need in advance. This includes any paper or ribbon you’ll be wrapping your bouquet in and any accent materials.
As for tools, make sure you’ll have sharp scissors and tape handy. You may even be able to find DIY bouquet kits that come with garden shears, ties, wrapping paper, green tape, ribbon, etc.
For certain flowers, like hydrangeas, you’ll also want a bucket you can fill with cold water to revive wilting blooms if needed.
2-3 days before—or up to the morning of—your event, pick up your flowers so you can assemble your bouquet in advance.
Store the flowers in a cool environment without direct sunlight. Too much heat will cause them to wither. You can even store them in a fridge if it’s large enough.
Prepare the Vase (If Applicable)
If you plan on putting your bouquet in a vase, first clean it out thoroughly to avoid bacteria growth that can cause your flowers to wilt too soon. If you want your bouquet to last longer than a day, we recommend adding plant food to the water.
Prepare the Stems
Gently rinse your flowers’ stems under cool water. If you have flowers with thorns, like roses, you’ll want to remove them to avoid injuring yourself when you place them in the bouquet.
Remove the leaves from the lower end of your stems. Remove some of the ones near the flower end, but not all. You want enough leaves to create a full bouquet, but not so many that the flowers are squished together.
If you’re using a vase, measure it and decide how high you want your flowers to stick up. Make sure you leave plenty of room from the opening of the vase for the stems and shorter flowers.
Do not cut the stems yet!
Arrange Your Flowers
Choose which flowers you want at the center of your bouquet and hold them in one hand. Using the other flowers, build around the bouquet from the center. Avoid clumping the same type or color in once place and try to disperse them for a more natural and appealing look.
Cut the Stems
Now that you’ve arranged your bouquet, make sure you are grasping it at the center of the stems. You can also use green tape to tie them together (not too tightly) so you don’t have to keep holding it.
With sharp scissors, begin cutting the stems at the same length (using your measurements if you have a vase) at a 45-degree angle. This angle allows the flowers to soak up water more efficiently.
Finishing Touches and Placement
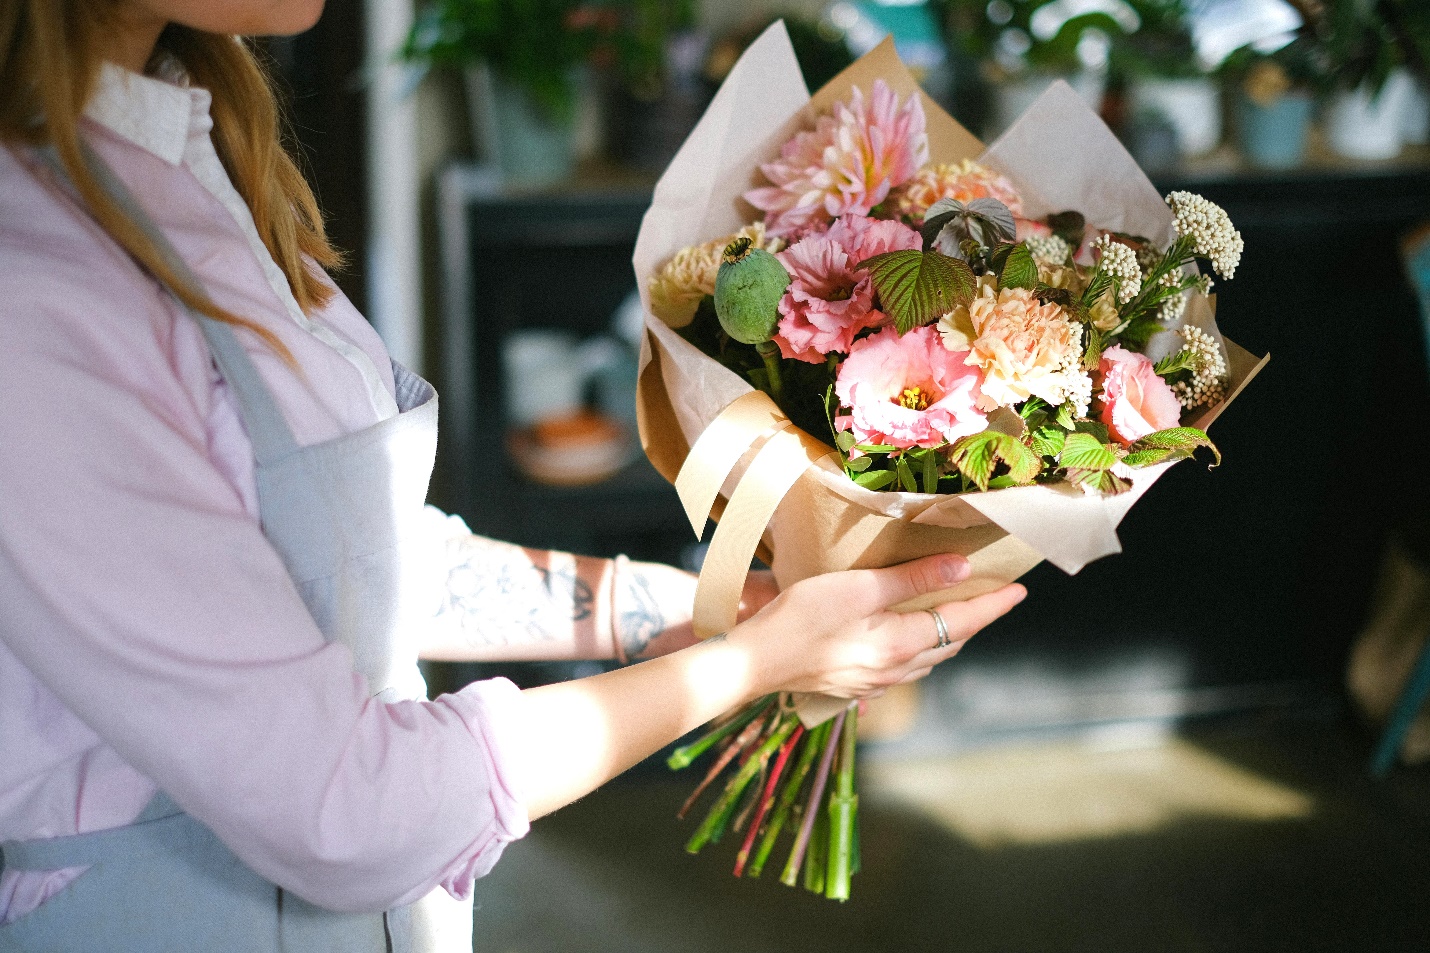
If you don’t have a vase, go ahead and wrap your bouquet in paper. There are many different methods for wrapping and tutorials available online. Choose one that makes your bouquet look full and finish it off with a ribbon bow.
For a bridal bouquet, you’ll want to wrap the stems neatly with green tape, then ribbon to create a “handle” for the bride to hold.
If you have accents, slide the stick end into your bouquet to complete the look. And voila! Your DIY bouquet is done!
When it’s time to place your bouquet, make sure it’s shaded away from direct sunlight so it will stay bright and happy all day long.
Should You Hire a Decorator?
While many of these steps are simple, sometimes it takes a trained eye to know which flowers and accents work together best. A decorator will be able to give you DIY bouquet ideas, guide your vision, and elevate your bouquet’s visual appeal. They’ll know exactly what’s in and what’s out.
If you put your bouquet together just days or hours before your event only to realize it doesn’t look at all how you imagined, it can cause unnecessary stress and send you scrambling for an alternative.
Sometimes, it’s better to be safe than sorry and hire someone who has experience with flower arrangements. A decorator will also be able to help you stay within your budget and tie all your other décor together.
We hope this guide has been useful to you and hope your final bouquet turns out perfect!
Connect with local event planners and florists in your local area.